Wednesday, February 3, 2016

Why Drink More Water?

We all hear how important it is to drink more water, but have you ever wondered why it is so important?  I know I always struggled with this and it took me a while to get used to the idea of drinking more water.

BUT, why do I need to drink more water.  There are so many things out there to listen to, but here are some benefits I have that I have found by drinking more water:

BENEFITS TO DRINKING MORE WATER

Reduces Bloating
 - Crazy as it sounds, when we drink enough water, it helps reduce that bloating feeling.  I know, I know I used to think the more I drank the more bloated I would feel, but actually I have found it to be the complete opposite.

I have found this to be true because like most things when our bodies need something and they aren't getting enough of it, our bodies tend to hold on to whatever it is we need.  Therefore when our bodies need more water, it will retain water instead of letting it go resulting in the bloat feeling!  WHO WANTS TO FEEL BLOATED???  - NOT ME!!!!

Suppresses the Appetite
-  Yep, another crazy thing...when our bodies trigger we are hungry, are we really hungry or are we thirsty?  I would venture to say you are likely thirsty and not hungry especially if you just ate recently.  So, next time you feel hungry try drinking some water first and see if that helps...

Helps Your Skin
- When drinking enough water, our skin will stay hydrated and therefore be shiny.  Water affects all the cells of our bodies.  Therefore when are bodies are dehydrated, our skin dries out as well.  I know I used to suffer from REALLY bad dry skin, especially in the winter.  However, since increasing my water intake to where I should be, I no longer have REALLY bad dry skin in the winter.

Helps keep you Regular
-  When you don't drink enough regular there is always a chance of becoming constipated  Crazy as it sounds drinking more will help you feel less constipated and have regular bowel movements - TMI, maybe :).

Fights Fatigue
- Our brains are highly dependent on water.  When we lack water, our brains think we are tired and tends to function on a lower level than if we were properly hydrated.  So, the next time you feel a drop in your energy, go drink some water.

SO, HOW MUCH WATER SHOULD YOU DRINK?

There are so many typical ideas of how much water to drink.  Granted how much you drink depends on many things.  But, my rule of thumb goes back to.....

Ready for it???

HALF YOUR BODY WEIGHT IN WATER!!!!

Yep, you read that right!  Half your weight in water.  So find a water bottle or something easy to help you keep track.  My trick is, I have a water bottle (or 2 or 3) that I know how many ounces each one holds and then I just have to remember how many bottles I have consumed per day and how many more I have left.

Hope these tips have helped and next time you are tired, hungry or feeling bloated, drink up!!!


Thanks for stopping by!

~Sarah Strubhar
Independent Team Beachbody Ruby Coach

Tuesday, January 26, 2016

One Pan Balsamic Chicken

We eat chicken around here more nights than not most of the time and I am always on the hunt for some new recipes.  My husband traveled earlier this month to see family and one of the dinners he had there was this.  He raved about how tasty it was so I knew I had to give it a whirl.  Simply for the fact, if he is raving about something I know I WILL FOR SURE like it! Oh yeah, and you make everything in one pan - what could be easier for clean up?!?!

I will say, I am sorry there are no pics, there were no leftovers (that's how good it was) and I forgot to take a picture when it was ready.  I will for sure next time though!

One Pan Balsamic Chicken

Ingredients

3/4cp. Italian Salad Dressing
4 tbsp. Balsamic Vinegar
3 tbsp. Honey
1 1/2 lbs. Boneless, Skinless Chicken Breasts, cut into 1in. cubes (or you could uses the chicken breast tenderloins)
2 tbsp. Olive Oil
1/2 tsp. Sea Salt
Fresh Ground Black Pepper to taste
1 1/2 lb. Green Beans (trimmed of tough ends and cut into 2in. pieces)
12oz. Mushrooms, sliced
1 1/4 cp. Grape Tomatoes, cut in half

Directions

-  Mix together the dressing, balsamic vinegar and honey in a measuring cup and set aside.

-  Heat 1 tbsp. of the olive olive and saute the mushrooms for 4 minutes until they have started to brown, then add the green beans and cook for abou 8 minutes until they are tender crisp.*

- Remove the vegetables from the pan; add the remaining oil and the chicken breast pieces.  Sprinkle with salt and pepper and saute until brown on each side.

-  Remove cooked chicken from the pan.  Add in the dressing mixture and cook on medium heat for a couple minutes while stirring constantly until it thickens and reaches a glaze consistency.

-  Add the chicken and veggies back into the pan and add the tomatoes.  Stir to coat everything and heat until heated through.  I cooked it long enough so the tomatoes started to pop, which added a great flavor to the dish.

*I did not cover the pan while the green beans were cooking and it seemed to take longer than 8 minutes to cook the green beans.   Next time I make this I will cover the pan to allow the beans to steam a bit.

Thanks for stopping by!  Hope you enjoy!  Feel free to leave feedback after you try this!

~Sarah Strubhar
Independent Team Beachbody 
Emerald Coach

Friday, November 13, 2015

Crock Pot Beef & Broccoli

I have been using our crockpot a ton lately.  Saw this recipe and wanted to try it.  We have never been huge fans of things made with soy sauce but have been up for trying new things lately.  I couldn't believe how tasty this was, not to mention EASY!!!

Score when the family approves and kept asking for more!

ENJOY!!

Beef & Broccoli

Ingredients:
2 lb Flank Steak cut into strips, width-wise (this makes for easier shredding at the end!)
2 cups Fresh Broccoli, chopped
4 Scallions, sliced length-wise (optional)
1/2 C low sodium Beef Broth
2 Tbsp. Liquid Aminos
Garlic Powder
1 tsp. Ground Ginger
1 tsp. Onion Powder

Directions:
-  Spray crock pot with non-stick Olive oil spray.
-  Place flank steak in crock pot.
-  If using green onions, sprinkle on top of steak. 
-  Mix together beef broth, liquid aminos, garlic, and spices, and pour over meat.
-  Cook on low 6 1/2 hours. 
-  Shred beef using 2 forks and add broccoli**. 
-  Cook an additional 30 minutes, or until broccoli reaches desired tenderness.

** I actually roasted our broccoli in the oven with some red peppers and served that along side the beef with some brown rice.

Monday, November 9, 2015

Slow Cooker Granola

Slow cookers aren't just for dinner and I am learning that more and more everyday!

Do you love granola! I DO!!!!!  BUT, I have always been too nervous to make it on my own!  I always thought you needed all these expensive ingredients to make it; or it would take too long; or I would burn it in the oven and there would be perfectly fine granola wasted.

BUT, not anymore!  I saw this recipe in a group I was in recently and knew I HAD to try it.  Seriously it couldn't have been any easier and tasty, well that's just not the word for it!  Thank goodness I have it in my head to only eat what it is per day to fit in my meal plan!  Because honestly, it wouldn't be lasting very long otherwise!!!

Here you go!  Try it out sometime!!

Slow Cooker Granola

Ingredients:

2 1/2 cps. Old Fashioned Rolled Oats (organic or gluten free if preferred)
1/4 cp. Nuts, chopped (almonds, walnuts, etc. - I used 1/8 cp. walnuts & 1/8 cp. almonds)
1/8 tsp. Sea Salt
1/3 cp. Pure Honey - organic if possible
3 tbsp. Extra Virgin Coconut Oil
1/4 cp. Peanut Butter (plain or chunky - your preference; organic if possible but not necessary)
1 1/2 tsp. Cinnamon (could use a bit less if you don't like the taste of cinnamon)
1 3/4 tsp. Vanilla (could use a bit less if you don't like the taste of vanilla)
1/4 cp. dried Fruit (raisins, cranberries, etc. I used 1/8 cp. of both)

Directions:
-  Coat the inside of your slow cooker with cooking spray (I use olive oil spray). 
-  Pour in oats, nuts and salt into slow cooker.
-  In a glass bowl, combine the honey, coconut oil, and peanut butter. Microwave for about 30 seconds until melted and you can combine smoothly. You may need to microwave more depending on your microwave. 
-  Stir cinnamon and vanilla into melted mixture.
-  Pour mixture over the oats in the slow cooker. Mix well so everything the oats are thoroughly mixed and coated. 
-  Place lid on slow cooker, but keep it slightly vented. I put my lid on just slightly sideways so it wasn’t on tight. 
-  Cook on high for about 1.5 – 2 hours, stirring every 15 minutes. It is important to stir it because it can burn a little if you don’t. The oats will be ready when they are moist but not wet.
-  Stir in dried fruit at the end. 


-  Spread granola out on a parchment lined baking sheet. Let the granola cool completely. The granola with actually harden a bit at this point and become that familiar granola texture.
-  Once cool, store in airtight container.
*There are so many possibilities you could mix in with this - sunflower seeds, dried apricots, apples, carob chips, etc.  You name it you could do it.  If you try this and try different mix-ins, let me know!  I would love to hear your feedback!

Thanks for stopping by and checking this out!  Have a great day!

~Sarah Strubhar
Independent Team Beachbody Ruby Coach


Wednesday, October 28, 2015

Chocolate Truffles!

I LOVE chocolate!  What about you?

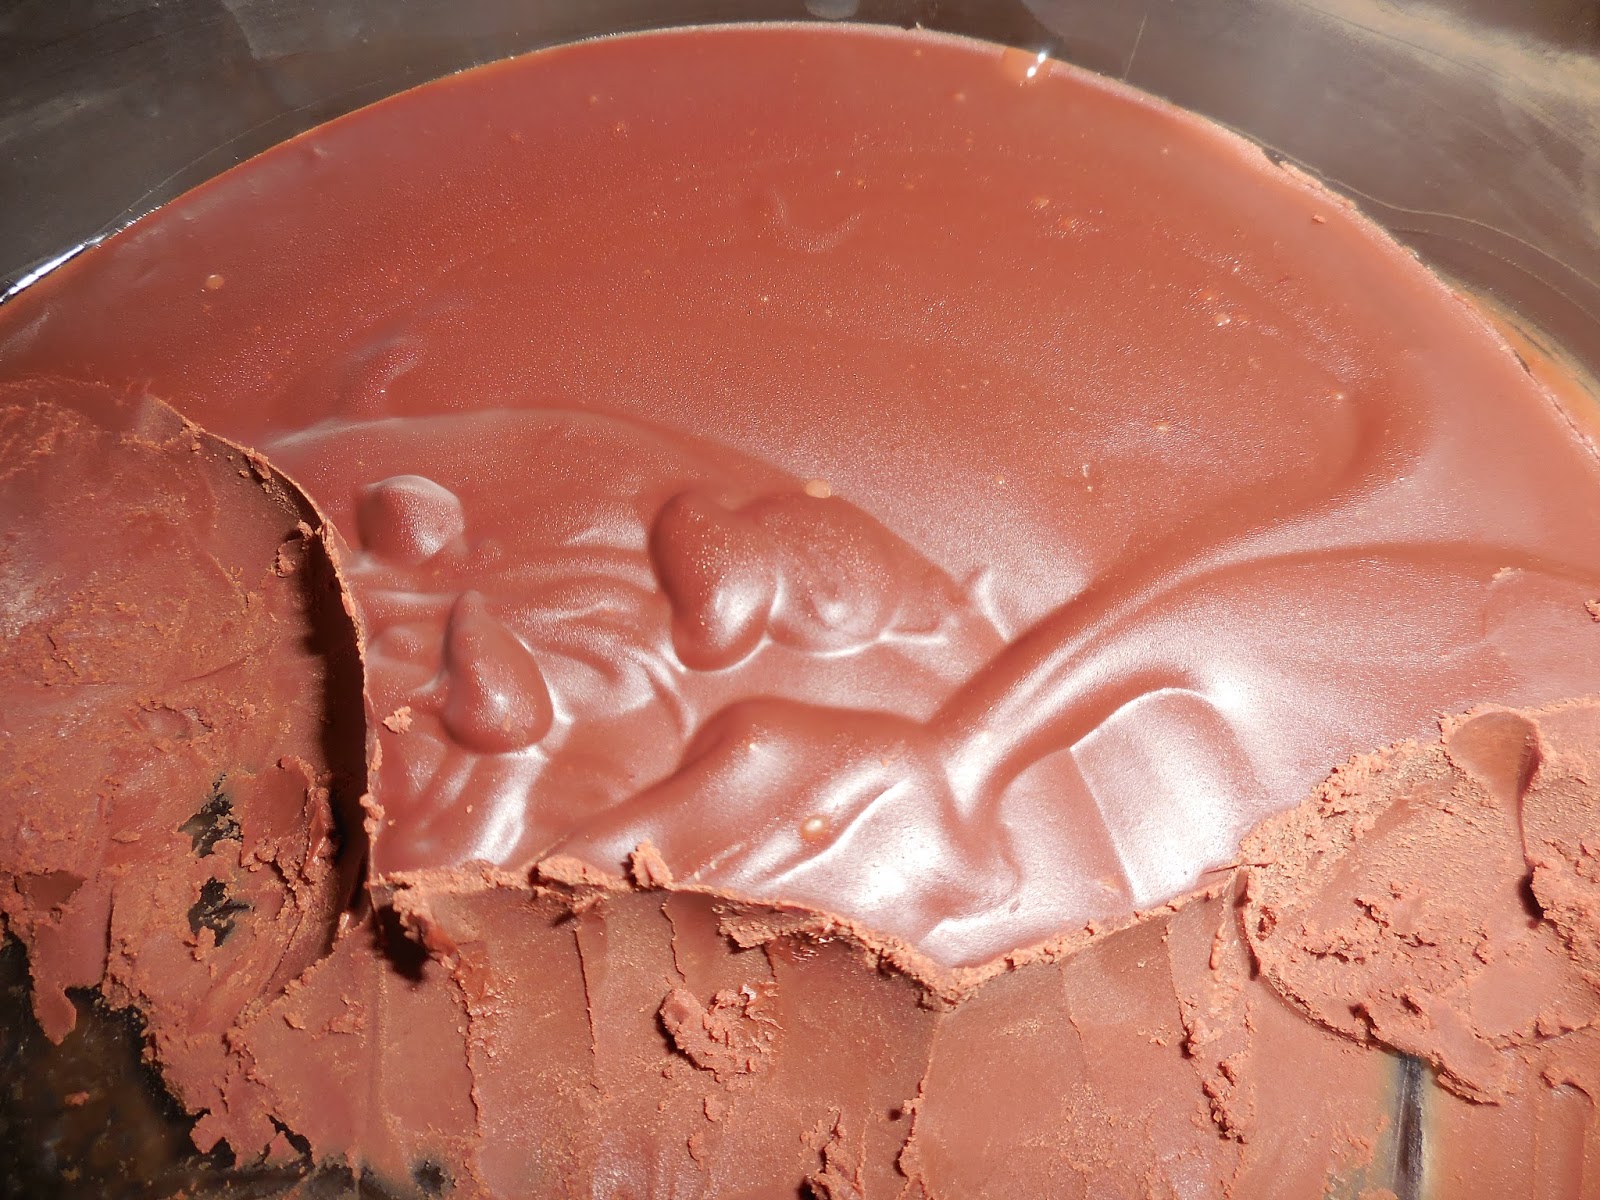
What about chocolate candy or better yet TRUFFLES?!?!?  Found this recipe on Team Beachbody's website a while back and made them for one of my book club gatherings.  SCORE!!!! They were SOOO tasty and healthy and called for only a few ingredients.  Since making them the first time, I have made them again and change up the flavors.  I can't wait to continue making these again and trying different flavor combinations!

Chocolate Truffles

Ingredients:


5oz. Dark Chocolate (70% cocoa or higher), - I used Guittard 70% cocao chocolate the first time and Ghiradelli 70% cocoa chocolate, in my opinion, the Guittard was better
1 tbsp. Extra Virgin Coconut Oil, melted
1/2 cp. canned lite Coconut Milk
1/2 tsp. Extract (I have used Pure Mint & Caramel extract so far)
1/3 cp. unsweetened cocoa (optional)


Directions:
- Finely chop the chocolate and place in a small bowl.

-   Pour the melted coconut oil & extract in the small bowl with the chopped chocolate and stir together mixing well.  Set aside.

-  Bring the coconut milk to a gentle boil in a small saucepan over medium heat.

-  Add the heated coconut milk to the chocolate mixture and whisk gently to blend.


-  Cover the chocolate mixture and place in the refrigerator for a minimum of 4 hours or over night at least.

-  Using a mellon baller or spoon, scoop 1 tbsp. of chocolate mixture and roll into a ball.  Roll the ball into the cocoa powder until evenly coated if desired.  Repeat to make 12 truffles.

-  Store in the refrigerator for up to one week or the freezer for up to 3 months.

Just some of my notes:
- When I made the mint truffles, I dusted them in the cocoa powder.
- When I used the caramel extract, I added a twist of the sea salt shaker and didn't dust them with cocoa powder.
-  The possibilities are endless here.  I also thought of using cherry juice for a black forest twist, raspberry juice or almond extract.  You could also just make plain chocolate truffles and coat them in walnuts, peanuts, pistachios, pecans or whatever you like.

These are fantastic for a sweet treat to share at a party or as a gift.   Enjoy and let your imagination drive what flavor combinations you want to try next!

For those following the 21 Day Fix plan, 1 truffle equals 1 yellow container.

Thanks for stopping by!

~Sarah Strubhar
Independent Team Beachbody Ruby Coach

Chicken Noodle Soup - 21 Day Fix Style

We have been fighting colds this week and what better thing to battle a cold with than some homemade chicken noodle soup.  BONUS when it comes from a cookbook that helps with portions and keeps me on track for my nutrition.  I took the recipe from the recipe book and made a few slight changes.

Hope it warms you on a cool day or if you aren't feeling well!

Chicken Noodle Soup

Ingredients:

2 tsp. Olive Oil (or coconut oil)
1/2 cp. Onion, chopped
1 1/2 - 2cps. Celery, chopped (about 4-5 medium stalks)*
4 cps. Low Sodium Chicken Broth
3 cps. Rotissseri Chicken Breast (boneless & skinless), chopped**
1 1/2 - 2cps. Carrots, chopped *
1 tsp. dried Oregano
Sea Salt & Black Pepper to taste
1 1/4 dry Whole Grain (or wheat) Pasta - Penne, Rigatoni, bows, shells, etc.)***
Fresh Parlsey and/or Cilantro for garnishing (if desired)

Directions:
-  Heat oil in a large saucepan over medium heat.

- Add onions, celery & carrots cooking and stirring frequently for 3-5 minutes until the onions are translucent.

-  Add the broth, chopped chicken, carrots, oregano, salt & pepper.  Bring to a boil.  Add pasta & reduce heat to low and cook pasta for about 10 minutes until cooked through.

-  Top with cilantro and/or parsley before serving if desired.

My Changes:

*  Recently when I made this, I didn't have enough celery so instead of using the 2cps. of celery and 1 1/2cps. of carrots it calls for, I switched and used 1 1/2cps. celery and 2cps. of carrots. 
**I actually just cook 2 medium boneless, skinless chicken breasts and then chop them and use instead of a rotisserie chicken.
***You could also use a gluten free pasta, brown rice pasta or quinoa pasta for a gluten free spin.
****I also like to add in additional veggies when I make noodle soup, so I always add in frozen green beans and frozen peas at a minimum when I make chicken noodle soup.  I probably add about 1 to 1 1/2cps. of green beans and 3/4cp. of peas.  But, you could either add any other veggies of your choice or omit this if you didn't want to add them in.
*****You could also add in some dried thyme or and rosemary if you like.  When I cooked my chicken, I sprinkled thyme, parsley, rosemary on the chicken prior to cooking.

21 Day Fix Equivalents:  When made per the recipe above (without my changes), 1 serving equals 1 1/2cps. each for a total of 4 servings.  The container breakdown is 2 green, 1 1/2 yellow and 1 red.  However, if you throw in some extra veggies, the container breakdown would then be more like 2 1/2 green, 1 1/2 yellow & 1 red.

Thanks for stopping by!  Hope you enjoy and it warms your soul.

~Sarah Strubhar
Independent Team Beachbody Ruby Coach

Tuesday, October 27, 2015

Apple Picking and Apple Crisp!

Every fall I love to go apple picking with our family!  Last year we didn't go, so there was no way we were missing that this year.  However, there are so many different varieties of apples to choose from and I can honestly say we don't usually pick the same variety every year.

So, after picking nearly 20lbs. of apples, now the question comes, what are we going to do with those apples?  In the past I would make apple sauce full of sugar, apple butter, apple crisp, apple cake, apple dumplings, apple pie filling and whatever else I could come up with.  However, each one of these recipes that I had made in the past don't really align with the clean eating journey now.

BUT, problem solved when I found this recipe on Beachbody's website (but I have tweaked it a bit for our liking).  I have enjoyed it so much I have made it multiple times!  LOVE the fact that it only has a handful of ingredients!  This is fantastic on it's own.  PLUS I warmed a serving in the microwave this afternoon and poured it over some Greek yogurt this afternoon which was phenomenal!

Give it a try and let me know what you think!

Apple Crisp
*taken from teambeachbody.com

Ingredients:
4 cups peeled, sliced apples
5 Tbsp. pure maple syrup, divided use (original recipe calls for 3tbsp.)2 tsp. ground cinnamon, divided use (original recipe calls for 1tsp.)½ cup old-fashioned rolled oats¼ cup finely chopped raw walnuts

Directions:
1. Preheat oven to 375° F.
2. Combine apples, 3 Tbsp. maple syrup, and 1 tsp. cinnamon in a medium baking dish; mix well. Set aside.
3. Combine oats, walnuts, remaining 2 Tbsp. maple syrup, and remaining 1 tsp.cinnamon in a medium bowl; mix well.
4. Top apple mixture with oat mixture. Bake for 25 to 30 minutes or until apples are soft.

NOTE:  For my 21 Day Fix Lovers, 1 Serving equals 1 purple and 1/2 yellow and 1/2 blue or orange container.  This recipe serves 4.


Thanks for stopping by!  Enjoy!!
~Sarah Strubhar
Independent Team Beachbody Ruby Coach